|
|
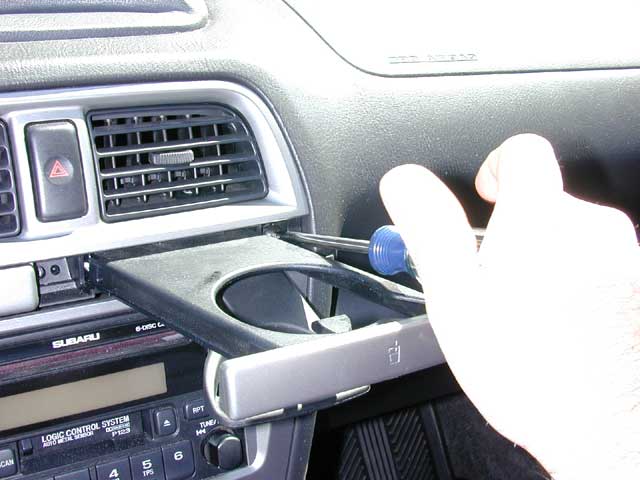
The first step is to remove the drink holder. This is not a necessity, but makes accessing the trim around the radio much easier. Pull the drink holder out all the way and remove the Phillips screw on the left. |
|
|
Remove the other screw from the other side of the cup holder. |
 |
Pull the drink holder straight back and out of the dash. Put it in a safe place. |
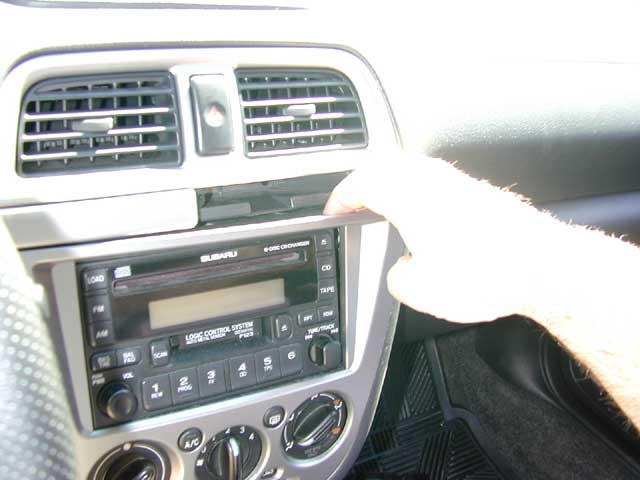 |
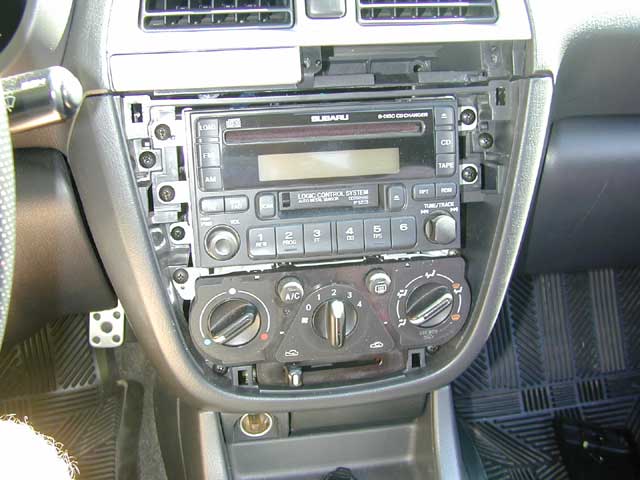
Gently pull the trim around the radio away. Apply gentle pressure. Do not use any tools, use your bare hands. |
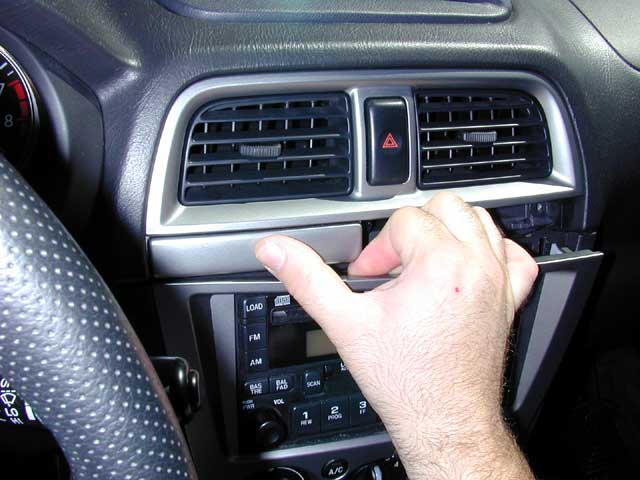 |
Pull the top left corner out next. |
 |
Work down the right side of the trim panel. Don't pry, just pull. |
 |
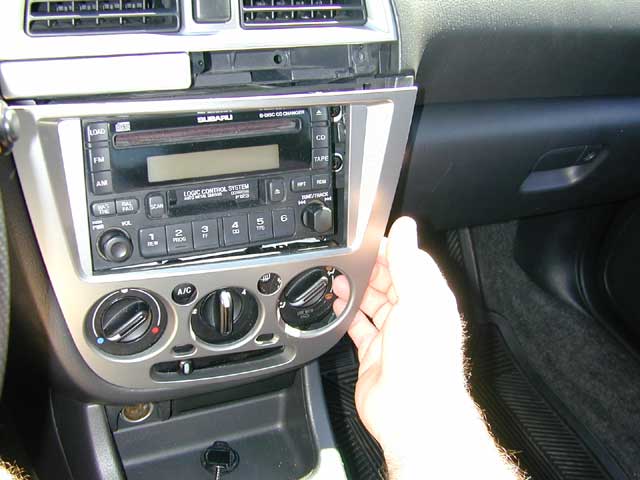
Finally pull out the bottom left corner and set the bezel aside in a safe location. |
 |
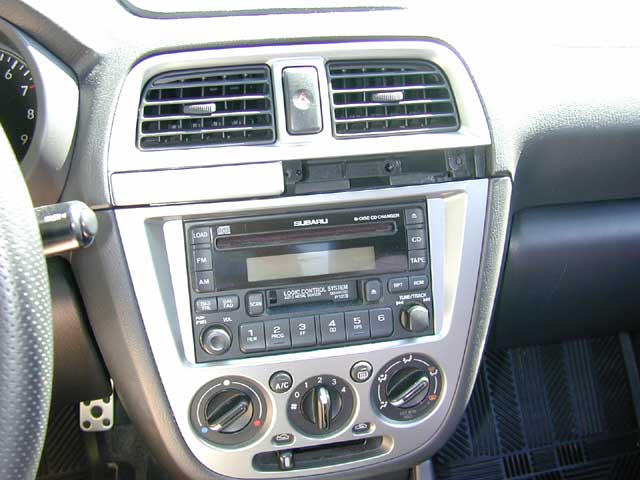
Here is the dash all naked. This is a good time to clean all the dust from around the HVAC controls. |
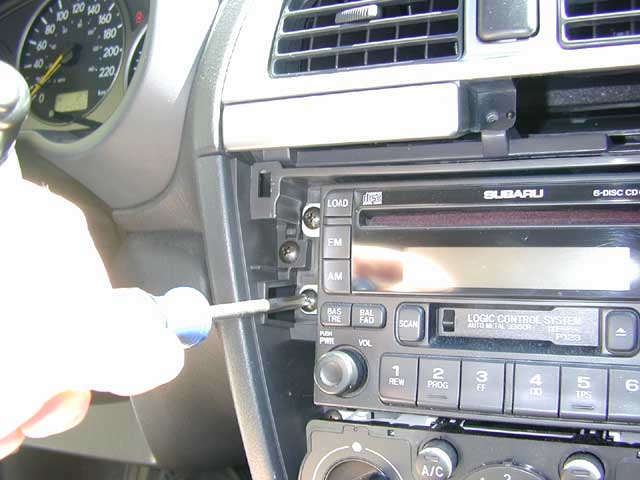 |
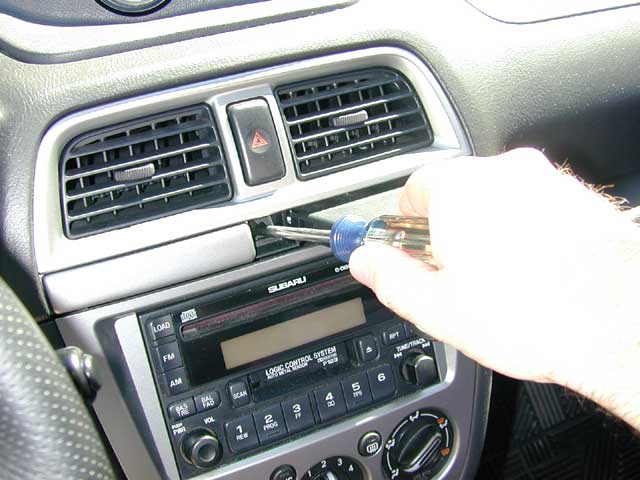
Remove the three screws on the left side which hold the radio to the dash. Use a magnetized screwdriver so you don't drop the screws into the dash. |
 |
Don't miss that one hidden way back there above the HVAC controls. |
 |
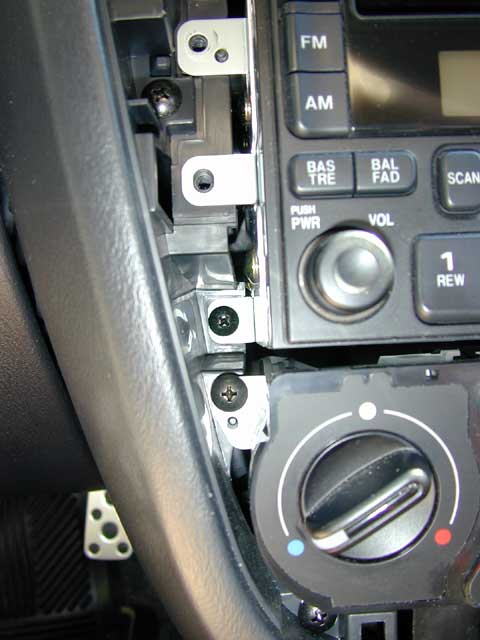
Repeat the removal of the other three Phillips screws on the right side of the radio, and slide it out. |
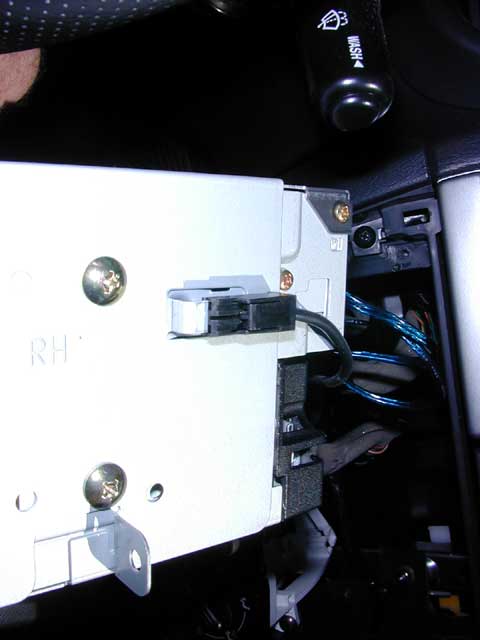 |
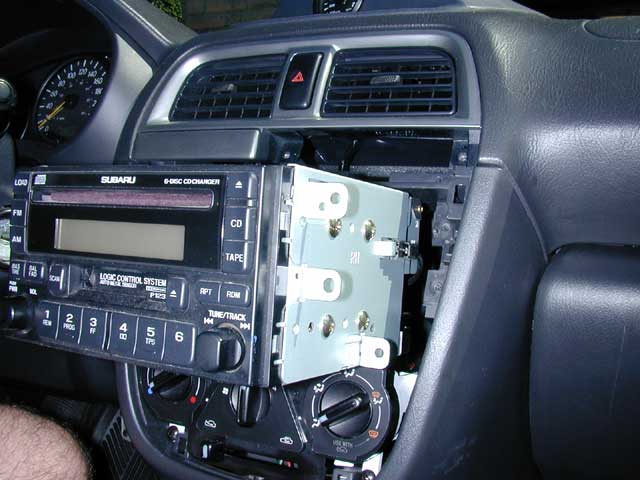
Remove the ground off the right side of the deck. Pull the tab away from the radio and slide it towards the rear. Now remove the antenna connection and main harness from the back. Put the radio in a safe place. |
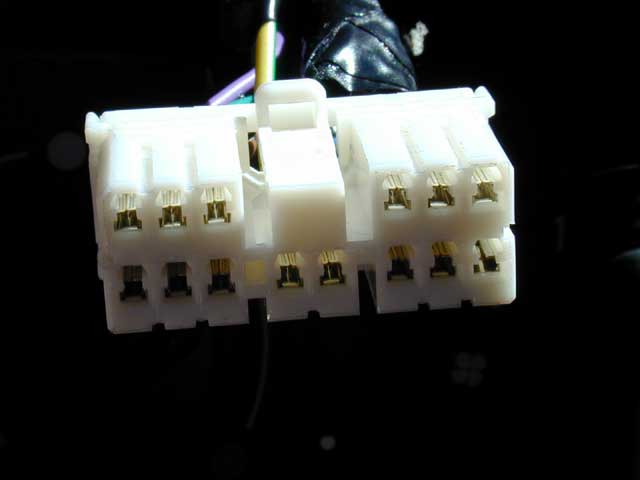 |
Unplug the Antenna and Molex connector from the back of the radio. I hope you had already taken all your CD's out. Store the radio in a safe place. Here is a close-up on the radio plug |
Now that the deck is out of the dash, we need to take care of the wiring. Click Here